Becoming a FPGA game dev
Posted on Wed 15 April 2026
For our course Digital Circuits and Systems this semester, we got an extra credit assignment where we had to design and implement a circuit on a FPGA. While I did not need the extra credits per se, since I already have a perfect score so far, I still decided to do the assignment because it seemed like a really fun opportunity and I'm a sucker for an opportunity to work on something new and novel for me.
The Setup
The first challenge was procuring a FPGA, as the teacher refused to provide one. After searching the various labs in my college I finally got one, the only problem was that the software it required - Xilinx ISE was old enough that it had entered maintainenence mode about the same time I had first gotten access to a personal laptop. I finally got it working in my Windows 10 machine - the OS I had only kept for Valorant so far. The process was time consuming - registering for an account at amd.com, manually generating a product access key etc. but mostly well documented which made it tedious but relatively simple to follow. One issue I did face was that the open project option was not working. I could create new projects and new files, but I could not open them, the software would crash. This is not to say that the files could not be saved and I had to do it all in one sitting. I could navigate to the project file from my file explorer and open from there. I had assumed this to be a quirk of the software and the current stack. It was only when I was having a problem with the bootloader not being able to load any file - which made it impossible to flash the ROM and permanently store the code on the board that I searched online for a solution.
The libPortability Fix
Found out that if you are running ISE on a Windows 10 partition, this crash is caused by an outdated DLL that mishandles modern OS file dialogs. The fix that I found was:
Navigate to your ISE installation directory: C:\Xilinx\14.7\ISE_DS\ISE\lib\nt64
- Find the file named libPortability.dll and rename it to libPortability.dll.orig (to back it up).
- Find libPortabilityNOSH.dll in the exact same folder, copy it, and rename that copy to libPortability.dll.
- Do this exact same replacement in the common folder as well: C:\Xilinx\14.7\ISE_DS\common\lib\nt64.
Restart iMPACT. The SROM programming option should no longer crash. As an added bonus, you can open files and use the other parts of the Xilinx Design Suite more conveniently.
The Game
My saner classmates went with half adders and multiplexers, but I decided to make a game. The original idea was to design the classic snake game, where the snake grows longer whenever it eats an apple and the game continues as long as the snake does not bite itself. However, LCD limitations made me switch to a 2 lane endless runner - the LCD was a 16x2 character based matrix. So the idea for the game then evolved to have a character that can move up and down, and it has to do so to avoid the obstacles that spawn on the other end of the screen and move towards. Here is a video of me playing the game.
|
|

|
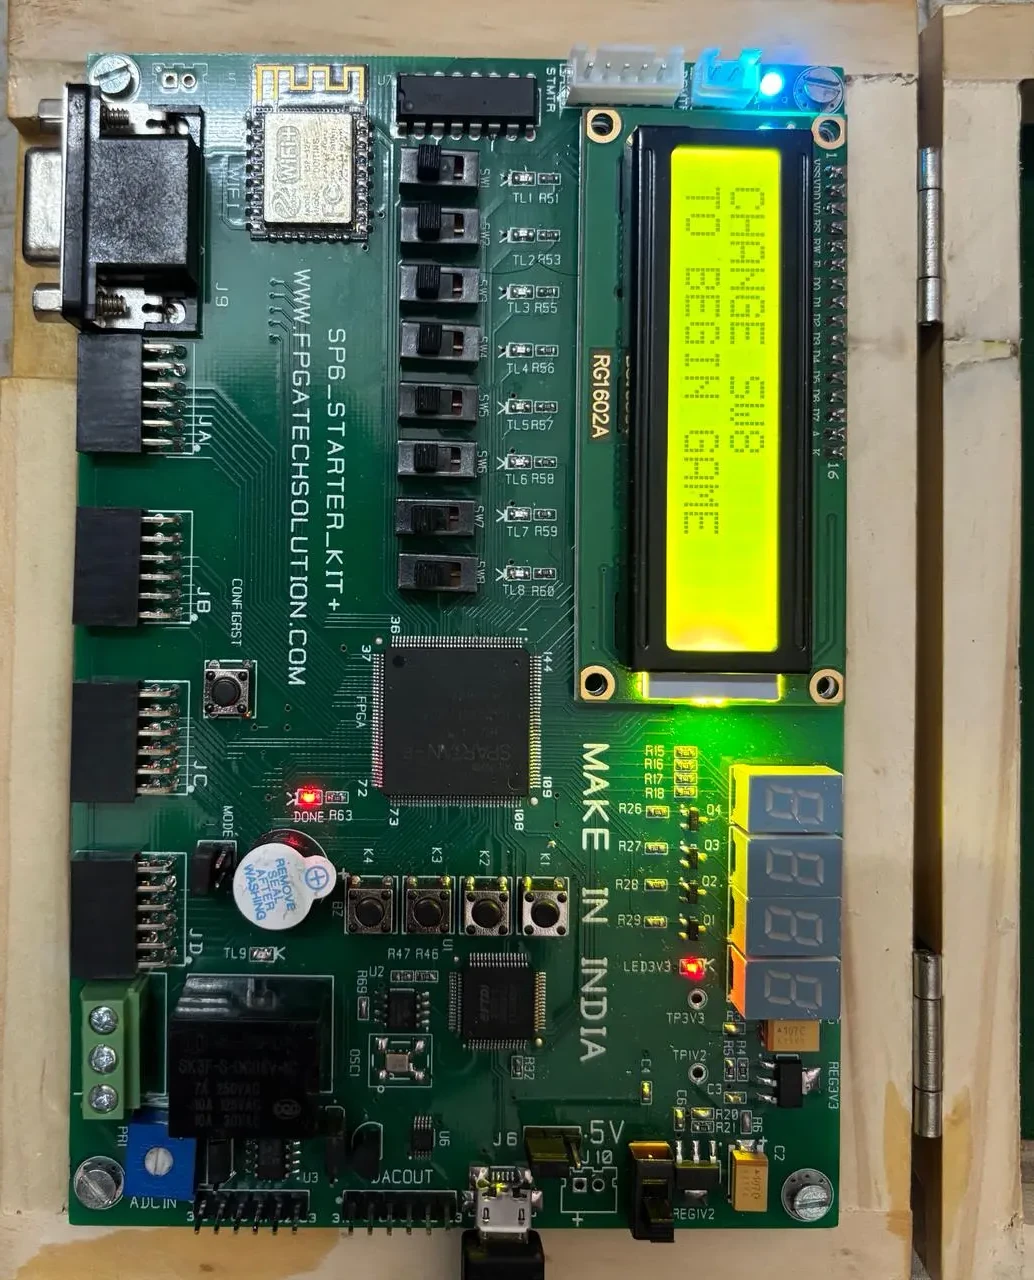
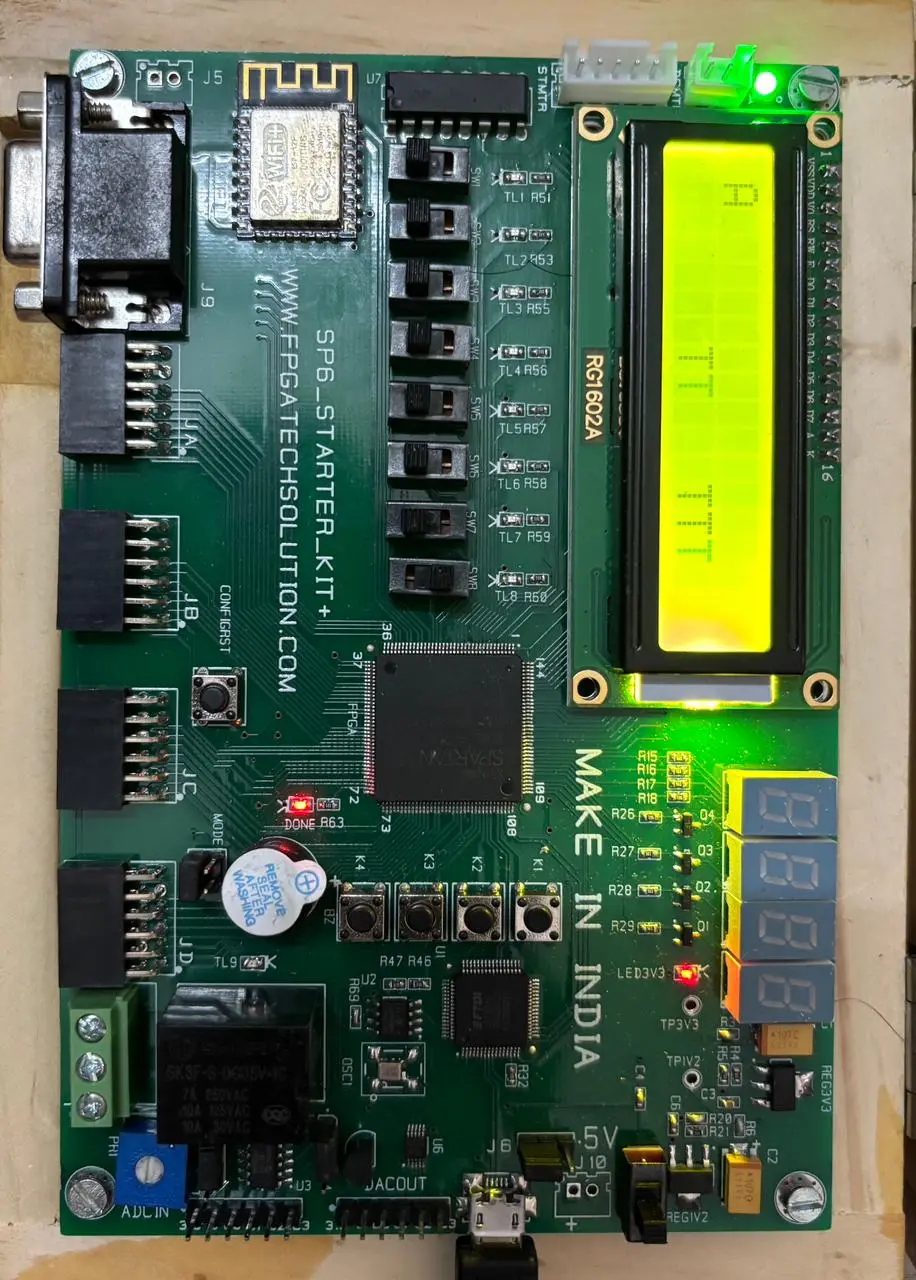
These images show the 3 stages of the game, from left to right they are:
- The game has not begun.
- The game has started and the player is alive.
- The game has started and the player has died.
If you look carefully, you'll see the RGB light is shining a differnt colour in each state. The original idea was to use the three colours - red, green and blue but either the pin numbers given in the reference manual were wrong or the LED was cursed, as we could not isolate red colour LED with any pin assignment. Hence the introduction of light blue and dark blue.
The core game logic involves a linear feedback shift register (LSFR) for pseudorandom obstacle generation. I found LSFR to be a really elegant solution. We also polled a digit from the LSFR itself to decide whether to spawn an obstacle in the top row or bottom row to avoid unsolvable states. The game can still throw an unsolvalble state where two diagonal obstacles are spawned, for which there is no legal maneuver. You have to understand that this whole game was built 1 week before the end semester examinations, so cut us some slack.
Another thing I learned from this project is how exactly do critical delay and propagation delays affect hardware. I had read the theory but in my previous adventures with Arduinos and ESP-32s, it had never been as much of a concern. Here the problem first manifested itself when I was trying to code up a method to display a live ticking score counter on 4 seven segment LED digit displays, also attached on the board. Rather than digits, the LEDs looked like a glibbering mess. The problem finally revealed itself to us thanks to my friend and teammate Prakhar Chandra's Iphone!
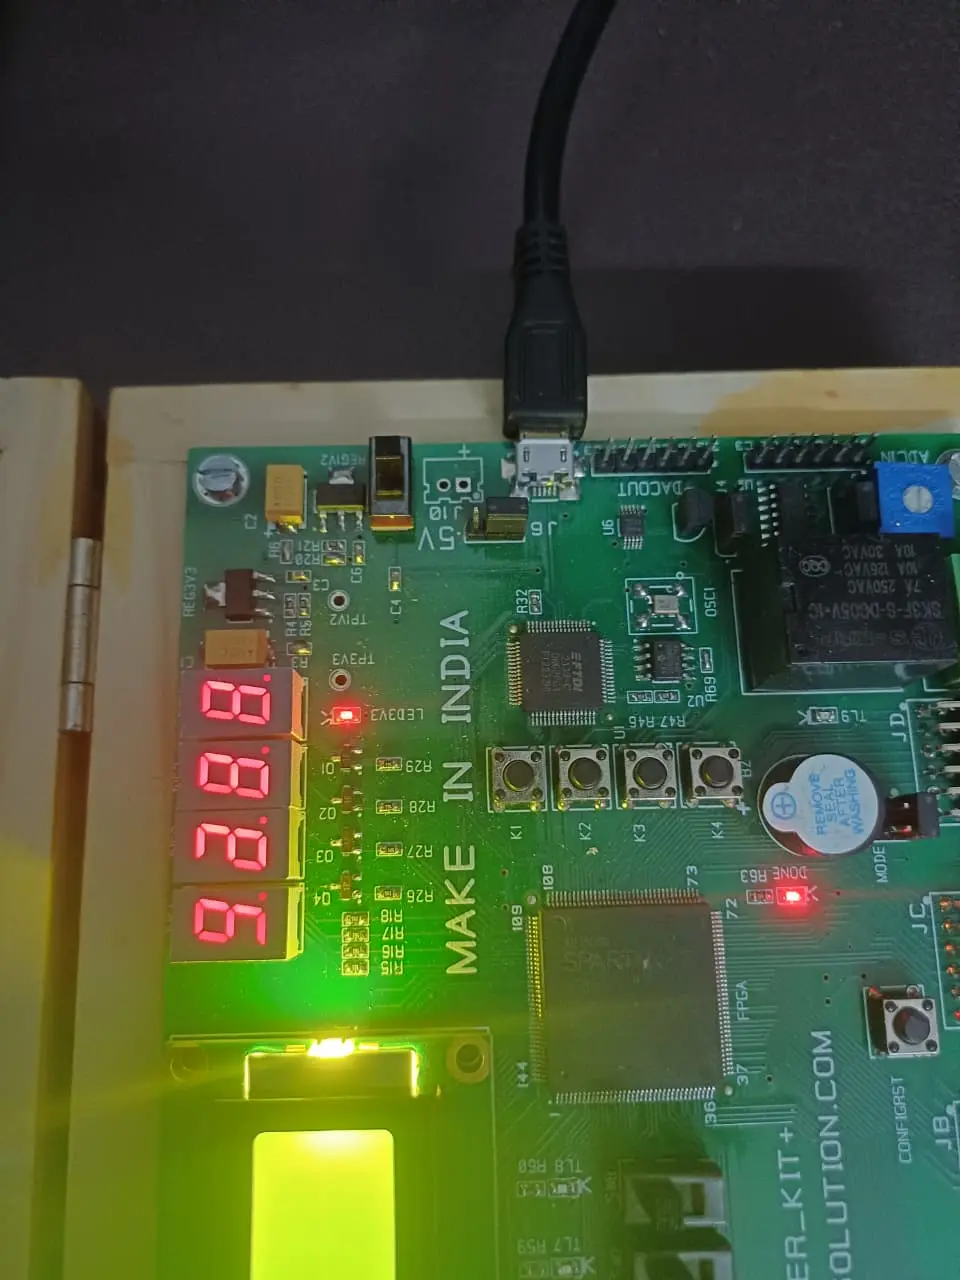
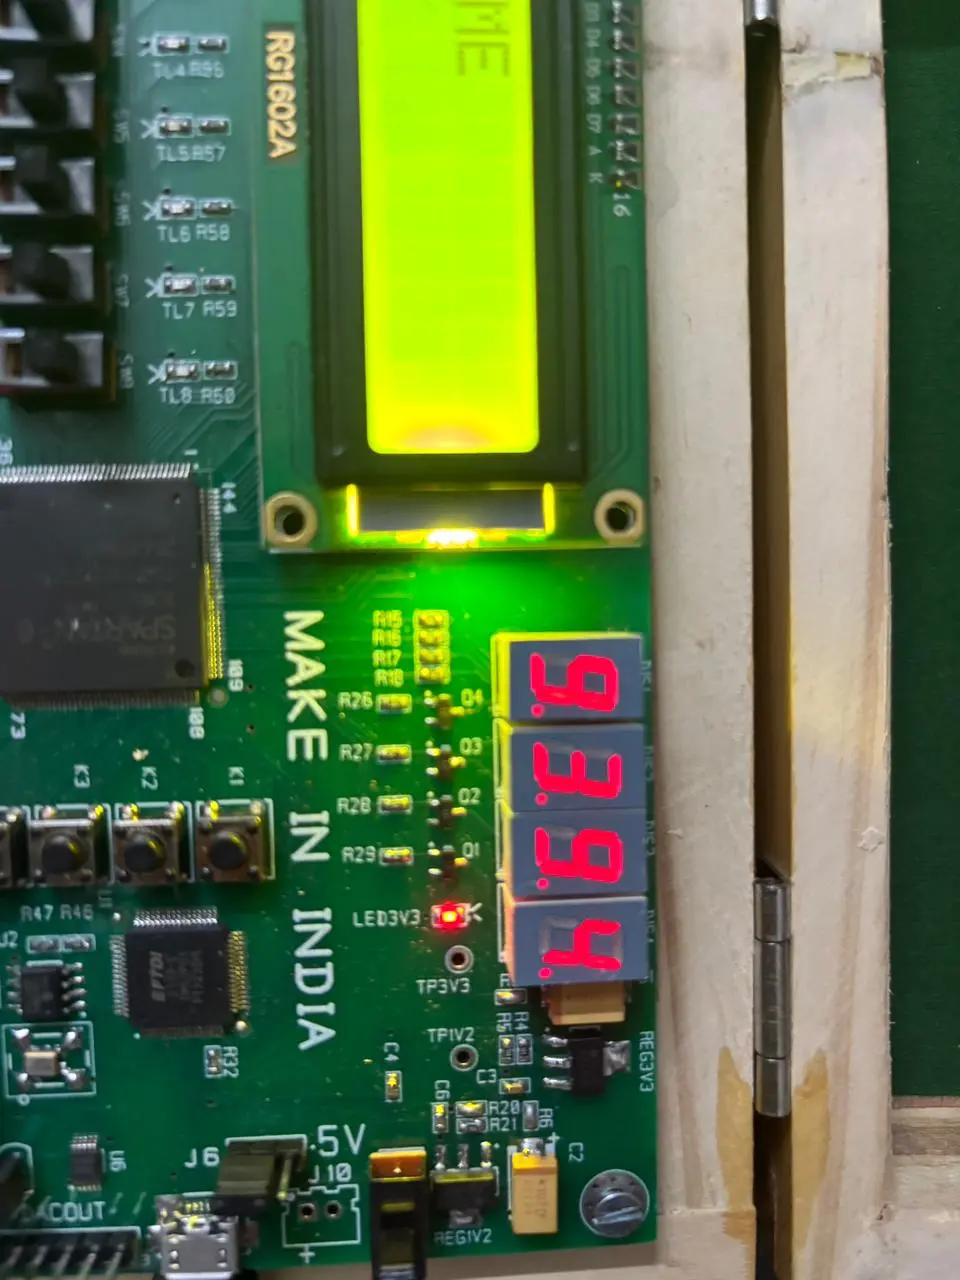
It was these images, that were clicked from two different phones, that helped us finally figure out the problem with our counter. It was updating too fast, due to which the hardware could not keep up and the digits were flickering and ghosting and glitching. Due to the time crunch, we decided to skip a live counter, it remains on our todo list.
Since we were scoring the game in binary, we decided to display the final score in hexadecimal instead of base-10. This made the conversion easier for us, while doubling as a way to check how well do my friends understand hex conversions. [Spoiler alert: They struggled more than a CS Major should]
The code for the whole project is available at my github.
Conclusion
The experience of working with FPGAs was a very interesting one for sure. I went into it thinking how different from Arduino it could be and came out the other side a little more of an engineer than I was previously was. Whether this change came about due to the knowledge I gained from working with an embedded system like the starter board where I could not really check the hardware connections and had to deal with faulty manuals, or was it because I wrote my name in the enginneer field of Verilog module preamble remains open for interpretation.